“A king trapped behind its own pawns is a king in danger no matter how safe it looks.”
Few tactics humble a chess player faster than the back-rank mate. It’s the kind of loss that stings because you did everything “right” you castled early, you kept your king tucked away, and then one rook slides down an open file and it’s over. In this guide, you’ll learn exactly how back-rank mates happen, how to set one up against your opponent, and how to make sure it never happens to you.
1. The Anatomy of a Back-Rank Mate
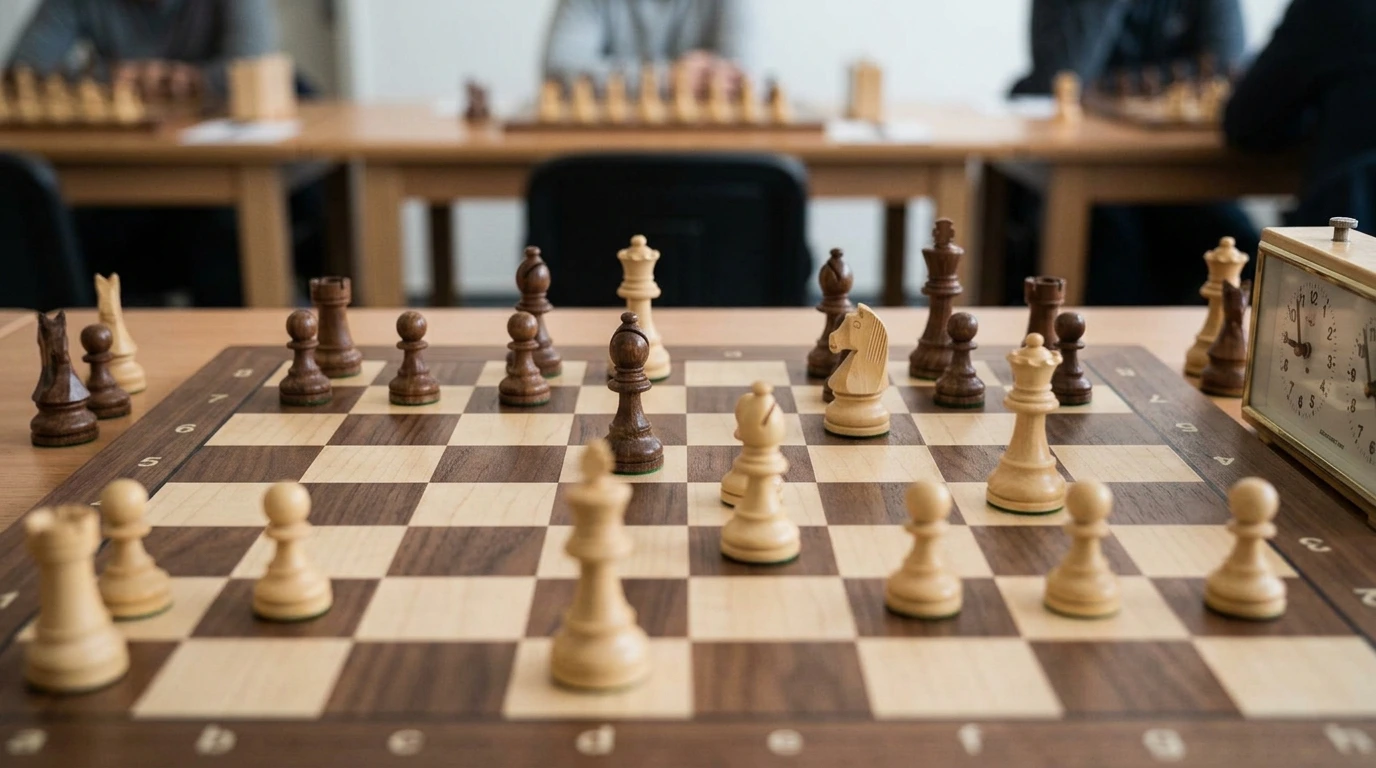
A back-rank checkmate sometimes called a corridor mate occurs when a rook or queen delivers checkmate with the enemy king trapped on its own back rank. The king isn’t weak on its own; it’s trapped by its own army. That’s what makes this pattern so humbling: your own pawns, normally your protectors, become the wall that seals your fate.
The setup almost always starts with castling. Tucking your king behind three unmoved pawns feels safe, and for the most part, it is until an enemy heavy piece finds an open file. The same pawn shield that blocks incoming attacks from the front also blocks your own king’s only escape route to the second rank, which is exactly the contradiction that makes this pattern so common at every level of play.
This is why even strong players stay wary of it long after they’ve stopped falling for it outright. Just the threat of a back-rank mate can force you into passive or awkward moves to defend it, sometimes at the cost of better opportunities elsewhere on the board. Understanding the anatomy pawn wall, open file, unguarded rank is the first step to using it and stopping it.
2. How to Execute a Back-Rank Mate
If you want to deliver this mate yourself, the first job is opening a lane. Look for a file with no pawns on it, or one you can force open through a trade, and post a rook on it pointing straight at the enemy king’s back rank. Patient players often double their rooks on that file first, doubling the pressure and making it much harder for the opponent to hold the line with a single defender.
Next, look for an overloaded defender. This is a piece usually a rook stuck doing two jobs at once, such as guarding the back rank while also protecting a pawn or piece elsewhere. If you can attack the second responsibility, your opponent is forced to choose: lose the material, or abandon the back rank and get mated. Either way, you come out ahead.
At higher levels, the winning move often isn’t obvious it’s a deflection sacrifice. You give up material, sometimes even a queen sacrifice, purely to drag a defender away from the back rank for one critical move. Capablanca’s famous 1914 win over Bernstein and the well-known Adams–Torre game from 1920 are built entirely around this idea. You don’t always need to deliver mate outright, either simply exposing the threat can win material or force a much weaker move from your opponent.
3. How to Defend Against a Back-Rank Mate
The simplest fix is luft German for “air.” Pushing your g- or h-pawn one square forward opens an escape hatch for your king, so a check on the back rank no longer means checkmate. It costs you almost nothing and takes one move, which is why strong players build it into their game early rather than waiting until it’s urgent.
Luft alone isn’t bulletproof, though. If your opponent already controls that escape square with another piece, pushing the pawn won’t save you so timing matters. A second layer of defense is simply keeping a rook or queen posted on your own back rank as a guardian, ready to meet any intruder. You won’t want to leave it there forever, since rooks belong in the fight eventually, but it buys you time and safety while you develop your attack elsewhere.
The habit that ties it all together is awareness. Before you make a move especially a trade that opens a file glance at your own back rank and ask whether your king still has an escape route. Do the same for your opponent’s position, since spotting their weakness first is often the difference between winning material and missing the chance entirely. This single habit, repeated every game, is what separates players who fall for this pattern from players who exploit it.
Free Demo Class for Kids
Conclusion
Back-rank mates are proof that safety and vulnerability can live in the same three pawns. You now know how the pattern forms, how to force it against an opponent using open files and overloaded defenders, and how to shut the door on it with a simple push of luft and a habit of scanning the back rank. The next step is putting this into practice because recognizing the pattern in a puzzle is very different from spotting it in the heat of a real game.
Ready to test your eye? Try the graded puzzle set below, then head to venturechessacademy.com to book a free session with one of our coaches and put these ideas to work on the board.
Practice Puzzles (Graded)
- Beginner: Spot the one-move back-rank mate rook or queen, your choice.
- Intermediate: Find the deflection sacrifice that clears the back rank in two moves.
- Advanced: Identify the overloaded defender and the combination that exploits it.
FAQ
Q: Is a back-rank mate only a beginner mistake?
A: It’s most common at beginner and intermediate levels, but the threat of it influences decision-making even in grandmaster games.
Q: Does luft always prevent a back-rank mate?
A: Not always if your opponent already controls the escape square, pushing a pawn won’t help. Awareness matters more than the move itself.
Q: What's the fastest way to spot a back-rank weakness in my opponent's position?
A: Check whether their king has an escape square and whether their back-rank defender is doing more than one job. If both are true, look for a way in.