

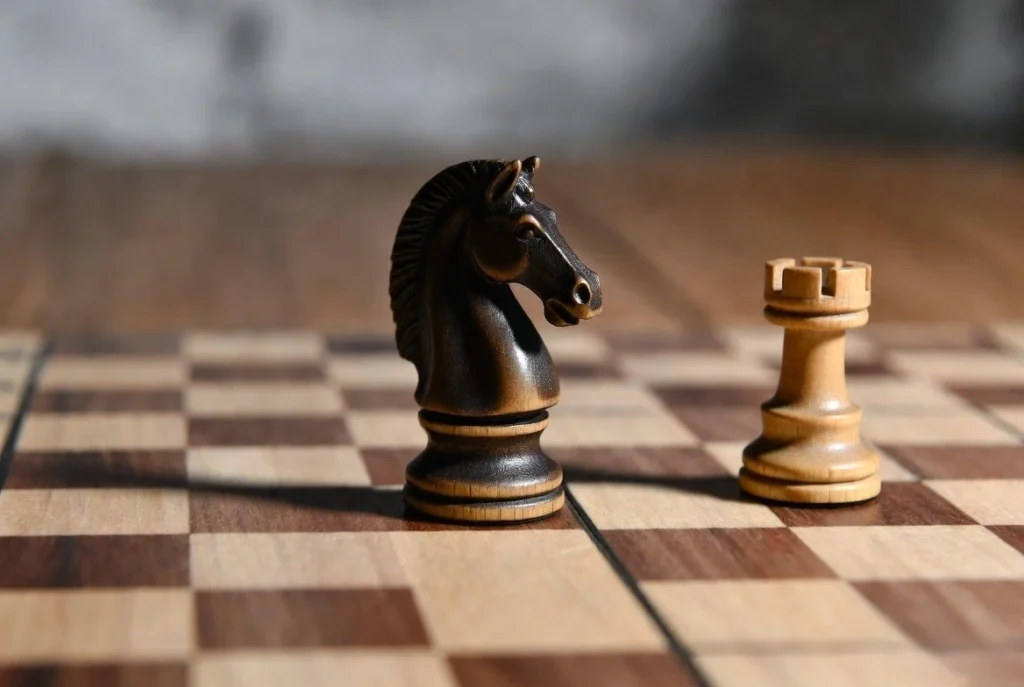
How to Set Up the Knight-Rook Combination for a Winning Attack
Introduction In chess, few combinations are as lethal, as elegant, or as frequently misunderstood as the knight-rook partnership. On the surface, these two pieces seem like an unlikely pair the…
How to Execute Anastasia’s Mate in 5 Steps
Introduction to Anastasia's Mate Among the gallery of elegant checkmate patterns that chess has gifted the world, Anastasia's Mate stands out as one of the most visually striking and deeply…
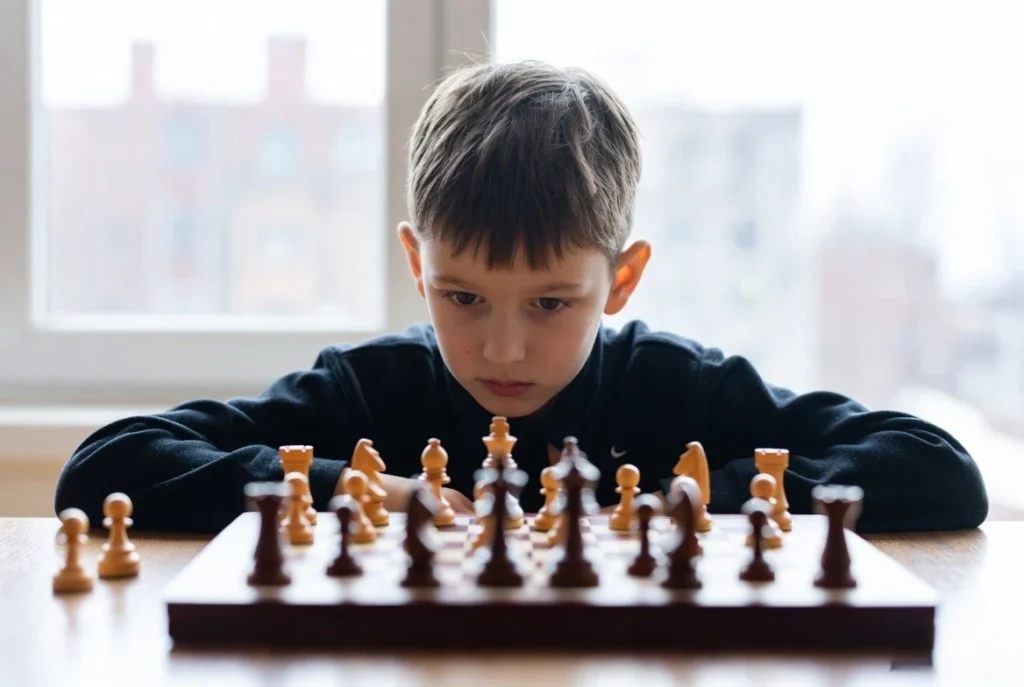
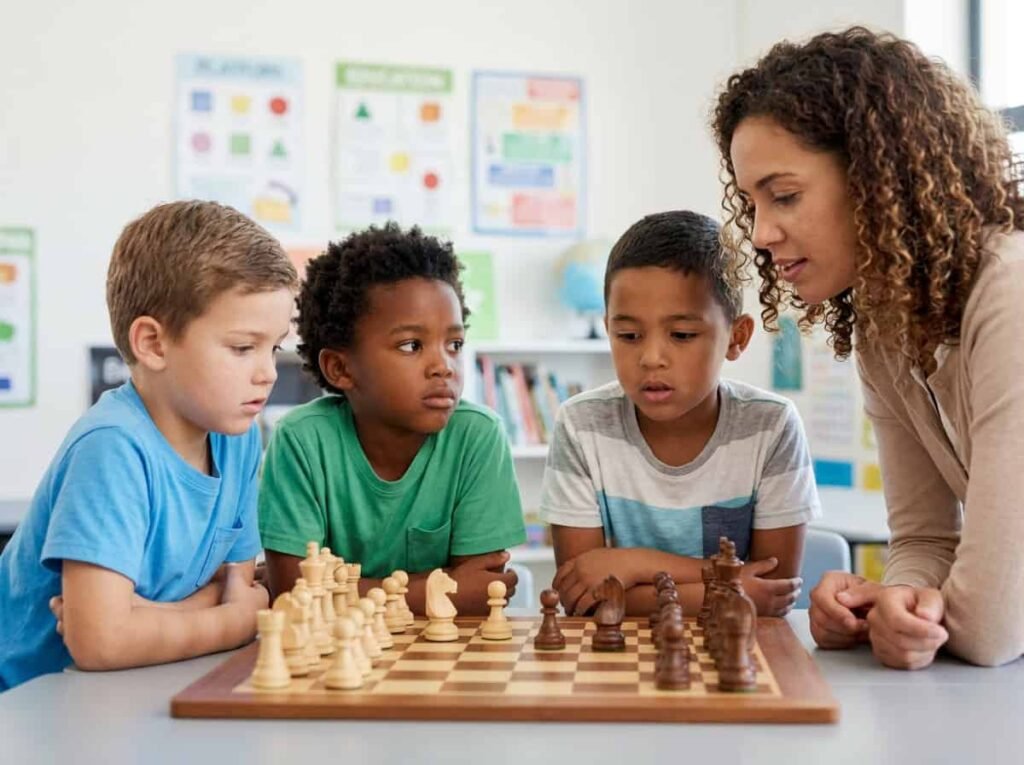
What Makes Chess Better Compared To Other Hobbies for Kids
Introduction Every parent wants the best for their child the right activities, habits, and skills that will set them up for a lifetime of success. In a world overflowing with…
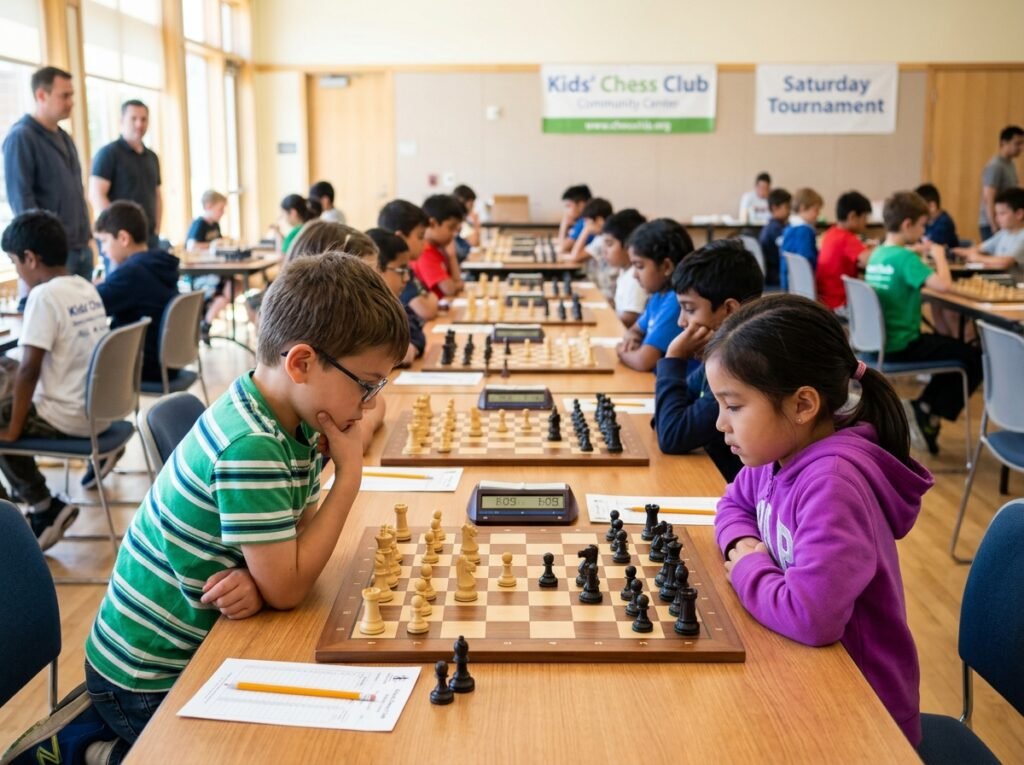
Top 5 hobbies for kids
In today's fast-paced digital world, it's more important than ever to choose the right hobbies for children.Hobbies not only keep kids entertained and happy but also help them develop essential…
Top 4 Life Skills Kids Learn from Chess
In today's world filled with screens, fast rewards, and quick entertainment, chess stands out as a great tool for helping children grow.This old game is more than just fun; it’s…
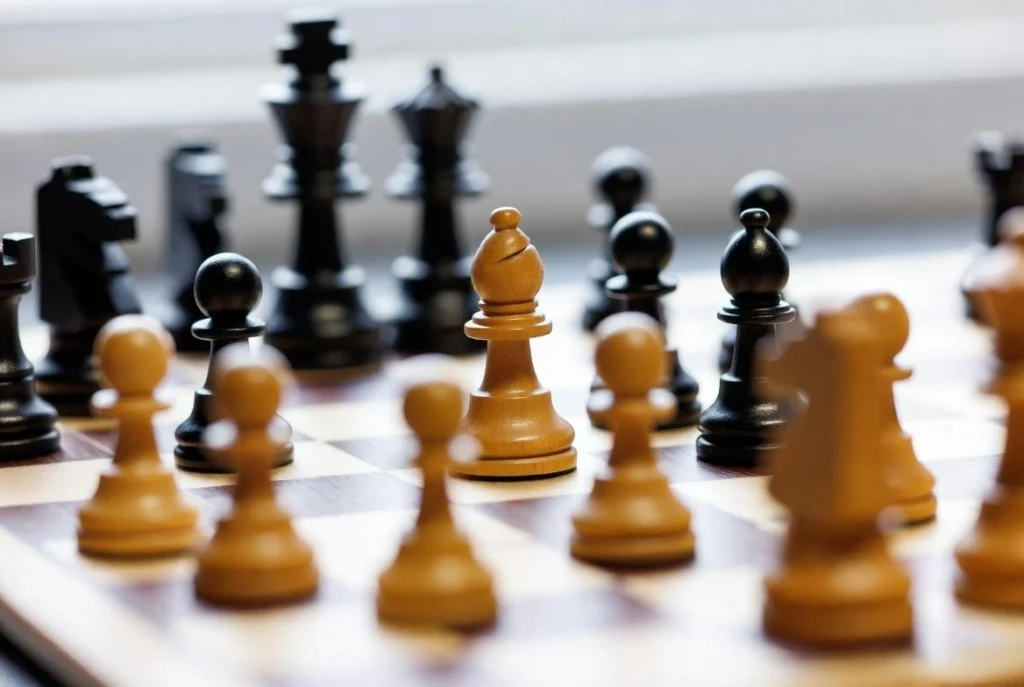
How To Recognize Checkmate Patterns in Chess
Checkmate is the ultimate goal in chess. While some games are won through long strategic battles, many are decided by sharp tactical strikes that end in beautiful checkmate patterns. The…
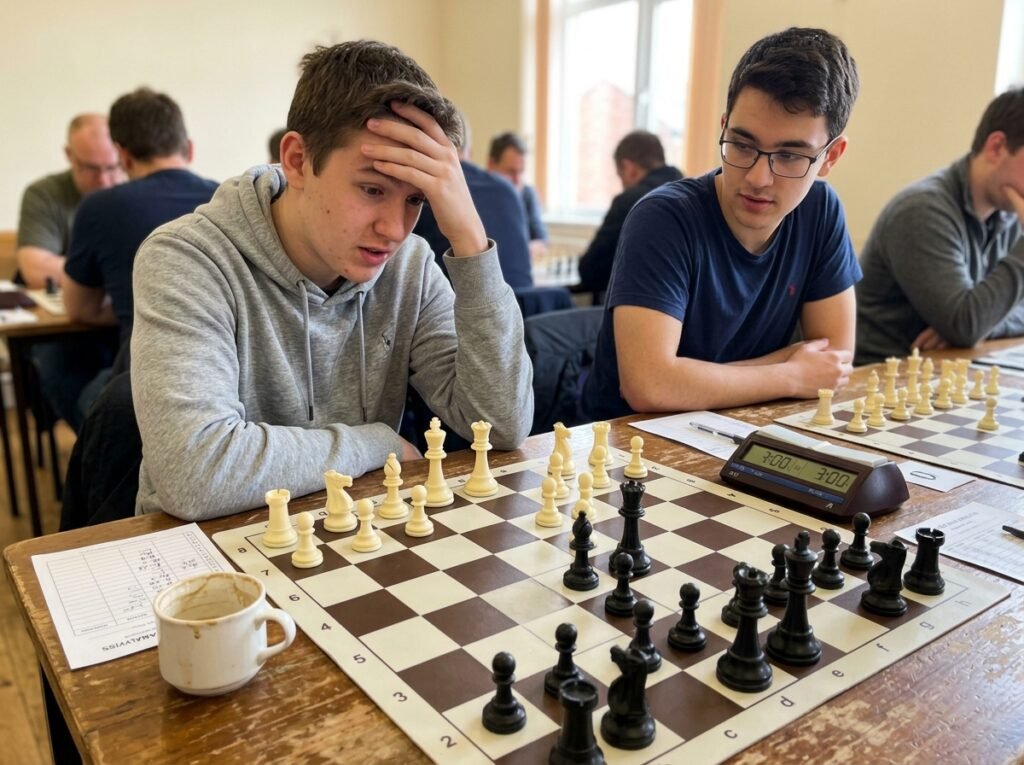
Why Beginners Lose Chess Games Quickly
Introduction: Understanding Beginner Struggles Chess is a game of strategy, patience, and recognizing patterns but for newcomers, it can sometimes feel like the game ends before it even starts.Quick losses…
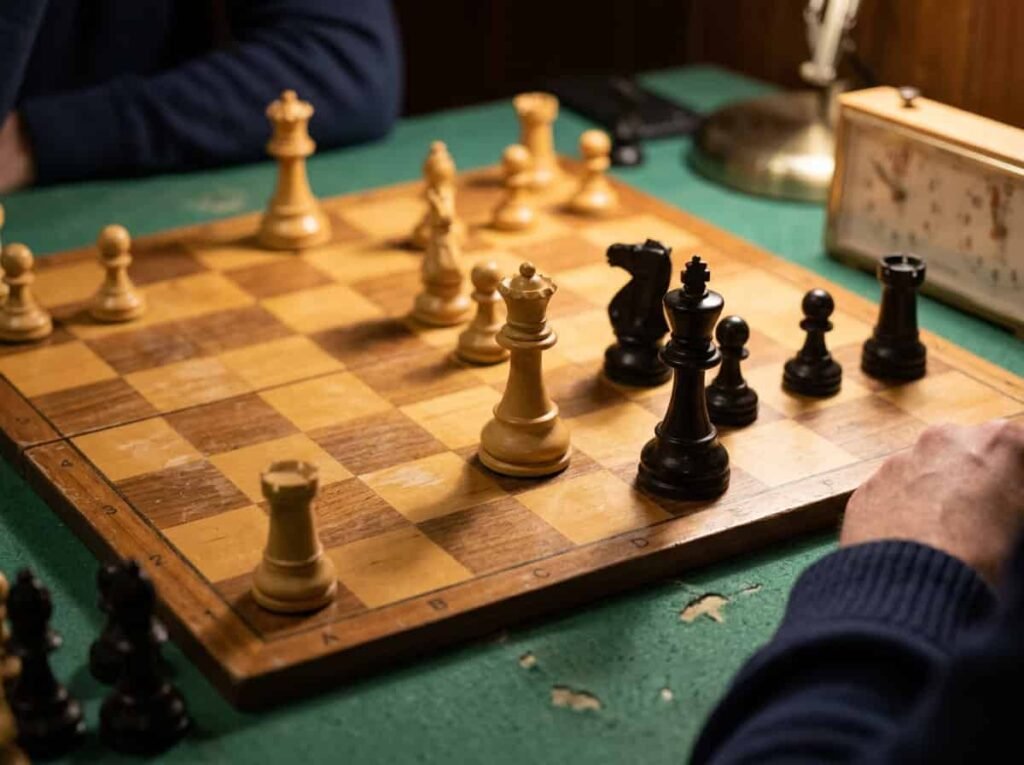
How to stop early queen attacks
Early queen attacks are one of the biggest problems for new and mid-level chess players.It’s really frustrating when your opponent brings out their queen on move two or three, rushing…